I took a couple of photographs of the interior of my little tool shop that views what I have added. I added a rear interior wall which is scribed wood weathered with Hunterline stains. I then added a few of my signs as decoration. Some license plates are also hung up. A FosScale models OPEN sign is hanging at the door...George Dutka
Welcome, follow along with George Dutka's narrow gauge ramblings featuring his HOn30" Carrabassett and Quebec Ry. diorama's and the On30" Wiscasset and Quebec modules built jointly with Peter Mumby.
Monday, 23 July 2018
Sunday, 15 July 2018
FOS Scale -Photograph
 |
| The new limited run block which includes a bus terminal in an old trolley barn is a new offering by FOS Scale Models. This is a really nice looking photo that is used for advertising the new kit. |
 |
| Here is how the photo came to be...nothing like shooting in sunlight. |
Thursday, 12 July 2018
Some Additional Photos
 |
| This view give one a better look inside. I built a workbench from a casting with legs added. A motor and box are accented by some steel rods, wood blocking and old signs. |
Sunday, 1 July 2018
A New Build - A Closer Look
 |
| The finished O scale shed ready for placement on a new module. |
 |
| This is the plaster casting and wood pieces we practiced our PanPastel colouring with. Once I got home I needed to figure out what to do with it all. |
 |
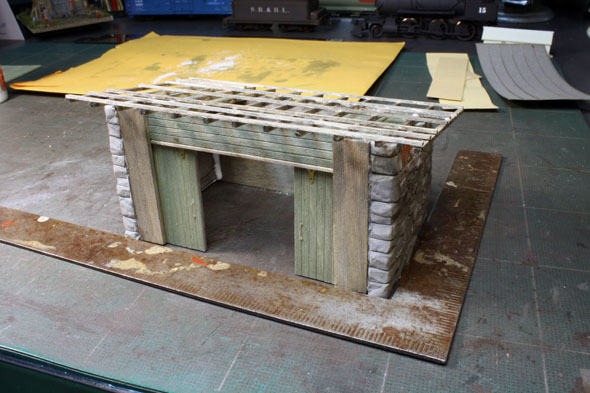
| The walls are squared up and glued together. The roof boards are cut and glued from stock I had on hand. |
 |
| An overhead view of the roof truss. The basic weathering is PanPastels but I added a coat of india ink-alcohol mix. Some Bragdon powders are added as soot and rust steaking. |
 |
| A styrene stack is added along with some added trash on the roof. Some holes are seen as the structure is kind of run down. Some signs are added to the walls and laying around the exterior. |
Subscribe to:
Posts (Atom)


